One of the core values at my workplace, Element 84, is reliability, and part of that is security, which we take seriously. This requires that all our computers be encrypted at rest. My work laptop, a late 2021 MacBook Pro with the Apple Silicon M1 Pro chip, has disk encryption turned on. However, some of my projects, like Model My Watershed, require an x86 environment for development. For these I have a Linux box at the office, which I SSH in to for development.
In order for this Linux box to comply with our security requirements, it also needs to be encrypted at rest. The tricky part is decrypting it remotely, since it is only used for remote development. Here’s how I did it.
Installing Ubuntu Server with LUKS Encryption
I wanted Ubuntu Server on this Linux box for minimal resource use, so I could spend the most on my development VMs. Since I am comfortable on the command line, I didn’t need a GUI desktop.
First I downloaded an ISO of Ubuntu Server 22.04. Then I installed balena Etcher on macOS, and used it to make a bootable USB drive with it.
I booted up the Linux box with the drive and chose to install Ubuntu Server, deleting everything that previously existed. During installation, I chose LUKS encryption and set up a passphrase. Then I created a user for myself, and set up its username and password.
With LUKS encryption, once you boot up the computer, you have to enter the passphrase at boot to decrypt the hard disk. Only then, can you proceed to login. But I can’t decrypt the server physically, especially when I’m working remotely. Enter Dropbear SSH.
Dropbear SSH
Dropbear SSH is a small SSH server, that uses very few resources. So little in fact that we can install it into initramfs, the RAM based file system that runs before booting from the hard drive. This will allow you to SSH into it before the disk is decrypted, run the decryption command, and then SSH in like normal.
I used this excellent guide: https://www.dwarmstrong.org/remote-unlock-dropbear/ to install Dropbear. When setting it up, I used the same authorized_keys for the Dropbear SSH as for my regular user. I set it up according to the article, using route -n to discover the Gateway IP address and Subnet Mask.
Finally, I rebooted the server.
Client Configuration
In my MacBook, I finally setup two SSH profiles:
Host mmw-dev-unlock
	HostName mmw-dev.internal
	User root
	Port 2222
	HostKeyAlgorithms ssh-rsa
	RequestTTY yes
	RemoteCommand cryptroot-unlock
Host mmw-dev
HostName mmw-dev.internal
User rajadain
RequestTTY yes
RemoteCommand tmux -CC new-session -A -s mmwThe first profile is for unlocking the box, and the second for SSHing in for development.
After the server rebooted, I tried to SSH into it, and got a Connection Refused message:
$ ssh mmw-dev

ssh: connect to host mmw-dev.internal port 22: Connection refused
Then, I ran the unlock command, which worked! I was able to enter my passphrase and decrypt the server, at which point the SSH session ends:
$ ssh mmw-dev-unlock

Please unlock disk dm_crypt-0:
cryptsetup: dm_crypt-0 set up successfully
Connection to mmw-dev.internal closed.
Once that was done, I was able to SSH in like normal:
$ ssh mmw-deviTerm2 and tmux
Since I only occasionally work on this Linux box, I like to be able to resume where I left off. tmux helps with this:
$ tmux new-session -A -s mmwThis creates a new session called mmw, or attaches to one if it already exists.
In addition, iTerm2 has excellent integration with tmux. This requires the -CC flag which gives iTerm2 complete control to treat tmux tabs as native iTerm2 tabs, leading to a wonderfully unified experience:
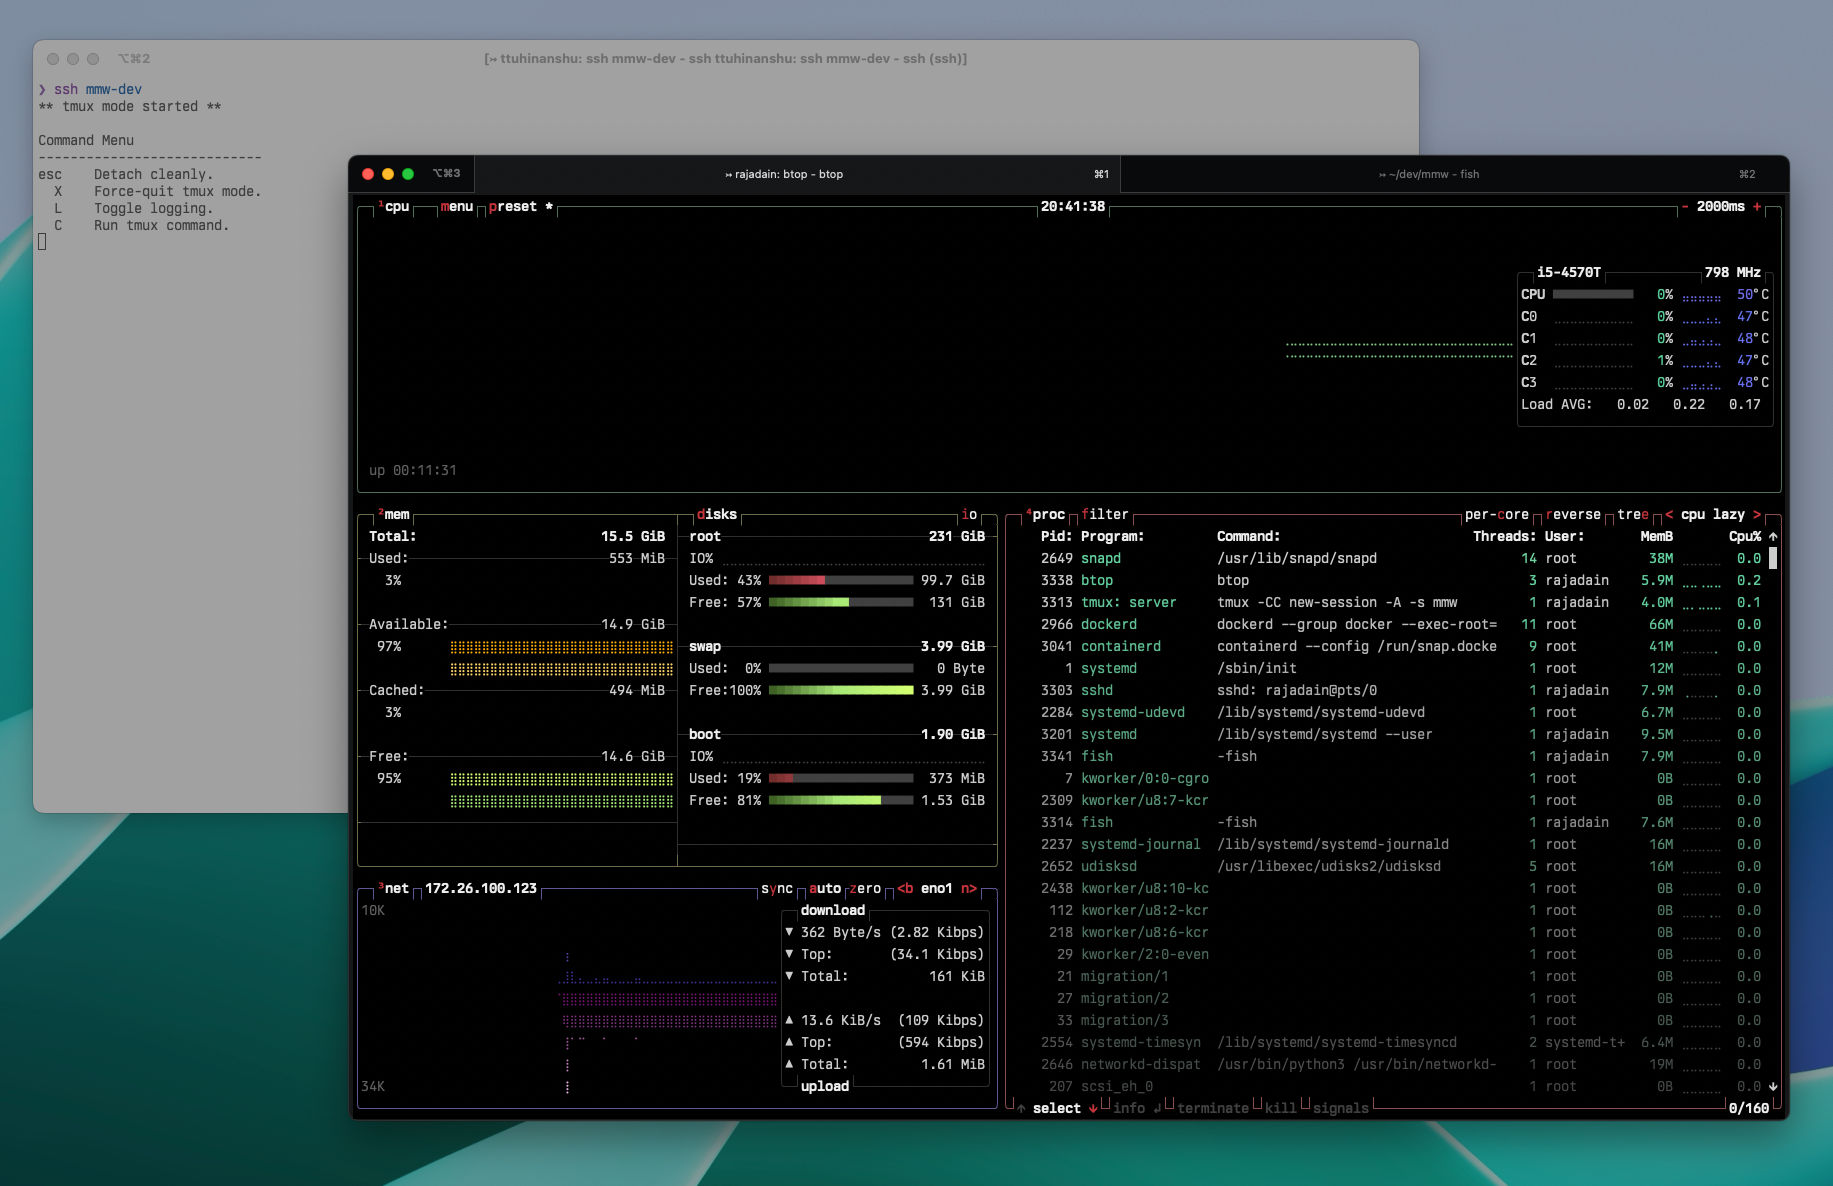
I have that final command built into my mmw-dev profile, which leads to a quick hop back to my secure, encrypted development environment.